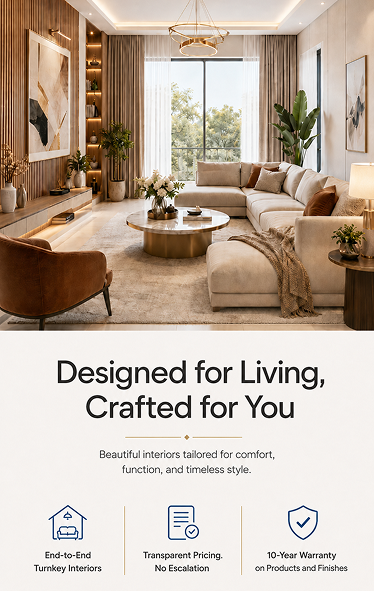
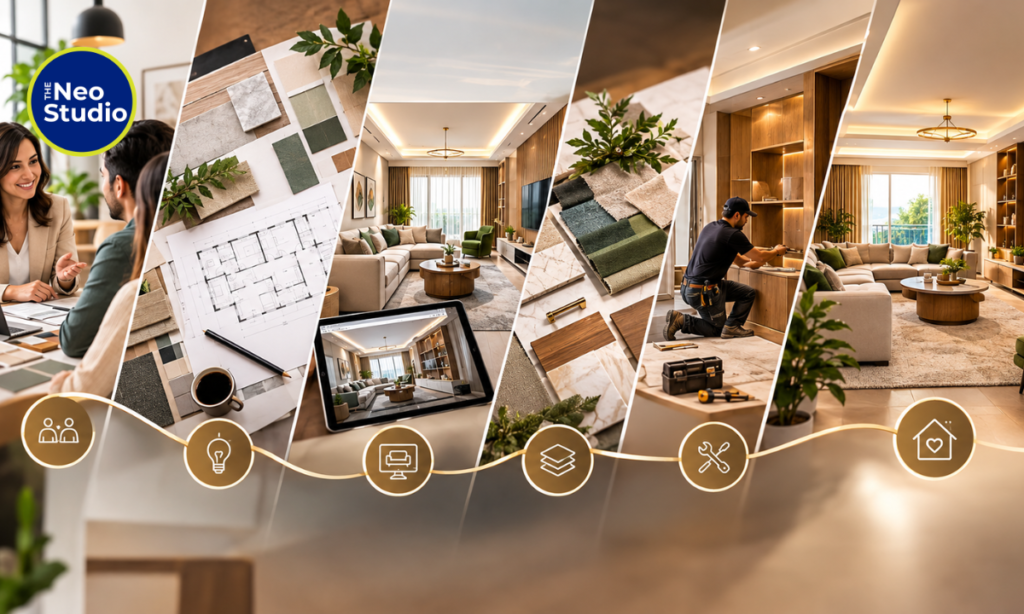
Planning the interiors of a home involves much more than choosing furniture, colours and finishes. A successful interior project requires a structured process that takes the project from an initial idea to a finished, usable space.
Understanding the interior design process can help homeowners know what to expect at each stage, what decisions need to be made and where potential delays or additional costs can occur.
Whether you are designing a new apartment, renovating an existing house or planning interiors for a villa, the process generally involves several stages. The exact steps can vary between interior designers and project types, but the basic workflow remains similar.
At The Neo Studio , the process is centred around understanding the homeowner’s requirements, developing a design, finalising details and coordinating execution to create a functional and personalised interior.
Let’s look at each stage in detail.
What Is the Interior Design Process?
The interior design process is a series of steps used to plan, design and execute an interior space.
A typical residential project may include:
- Initial consultation
- Site visit and measurements
- Requirement analysis
- Space planning
- Design concept
- Material and finish selection
- Detailed drawings
- Cost estimation
- Design approval
- Production and procurement
- Site execution
- Installation
- Final inspection
- Handover
Not every project follows exactly the same sequence. Some stages may overlap depending on the size and complexity of the project.
Stage 1: Initial Consultation
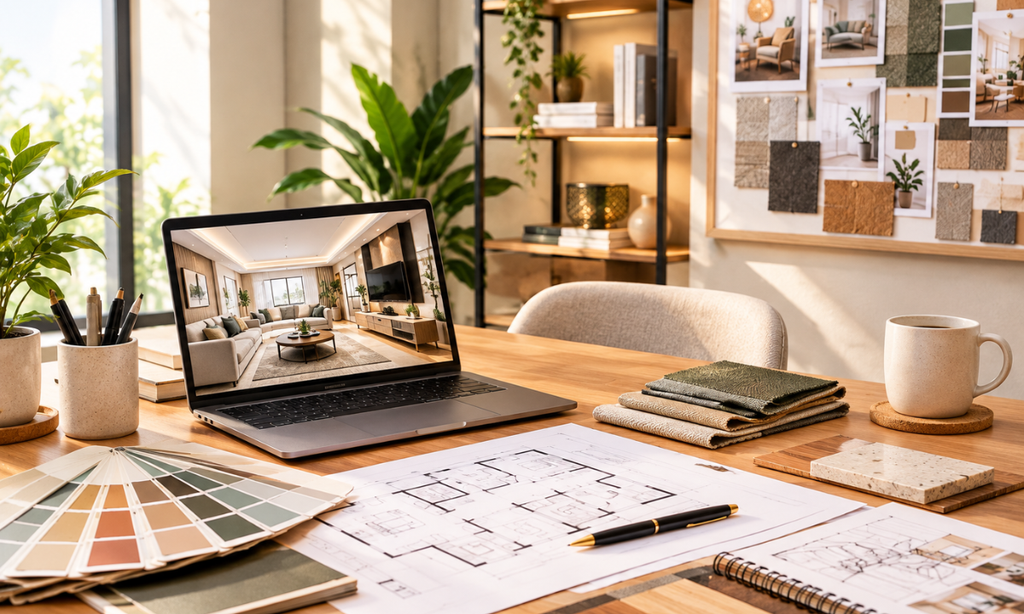
The first stage is understanding the homeowner and the project.
The designer may discuss:
- Type of property
- Number of rooms
- Family requirements
- Lifestyle
- Preferred design style
- Storage requirements
- Kitchen requirements
- Furniture preferences
- Colour preferences
- Budget
- Expected timeline
This conversation helps establish the basic direction of the project.
For example, a family with children may prioritise durable materials and additional storage, while someone working from home may require a dedicated office area.
The designer should understand how the space will be used before recommending a design.
Stage 2: Site Visit and Measurements
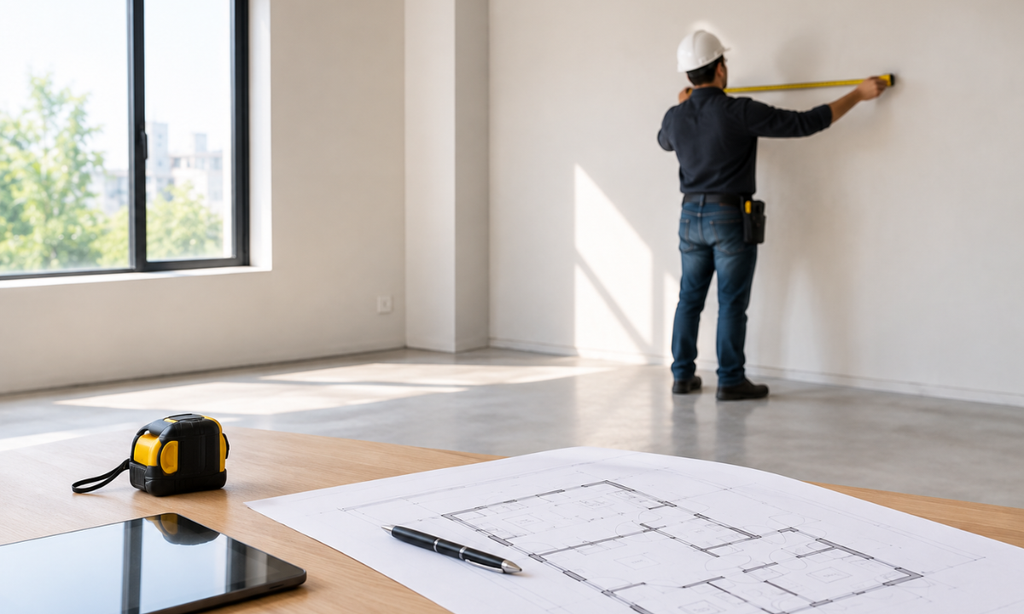
After the initial discussion, the property needs to be assessed.
Measurements may be taken for:
- Room dimensions
- Doors
- Windows
- Walls
- Columns
- Beams
- Ceiling height
- Plumbing points
- Electrical points
The designer may also assess natural light, ventilation and existing site conditions.
This information is important because interior design decisions need to work with the actual property rather than an assumed floor plan.
Stage 3: Requirement Analysis
Once the property and homeowner requirements are understood, the designer identifies the project’s priorities.
This may include deciding:
- How much storage is required
- Which rooms need wardrobes
- What type of kitchen is needed
- Whether a study area is required
- Whether a pooja area should be included
- What type of living room furniture is required
- Whether existing furniture will be reused
- Which areas need renovation
This stage helps separate essential requirements from optional design elements.
Stage 4: Space Planning
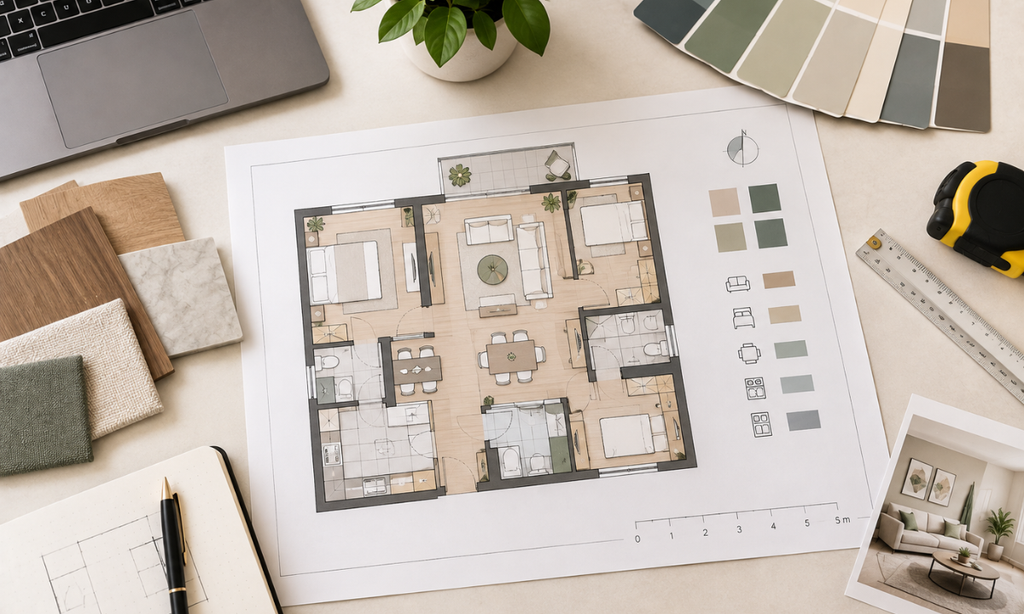
Space planning is one of the most important stages of interior design.
The designer determines how the available space can be used efficiently.
For example, a living room layout may need to accommodate:
- Sofa
- TV unit
- Centre table
- Storage
- Dining area
- Walking space
A bedroom may need to accommodate:
- Bed
- Wardrobe
- Dressing unit
- Bedside tables
- Study desk
The objective is to make the room comfortable without overcrowding it.
For larger projects, modular interiors in Bangalore can provide integrated solutions for storage, furniture and other interior requirements.
Stage 5: Developing the Design Concept
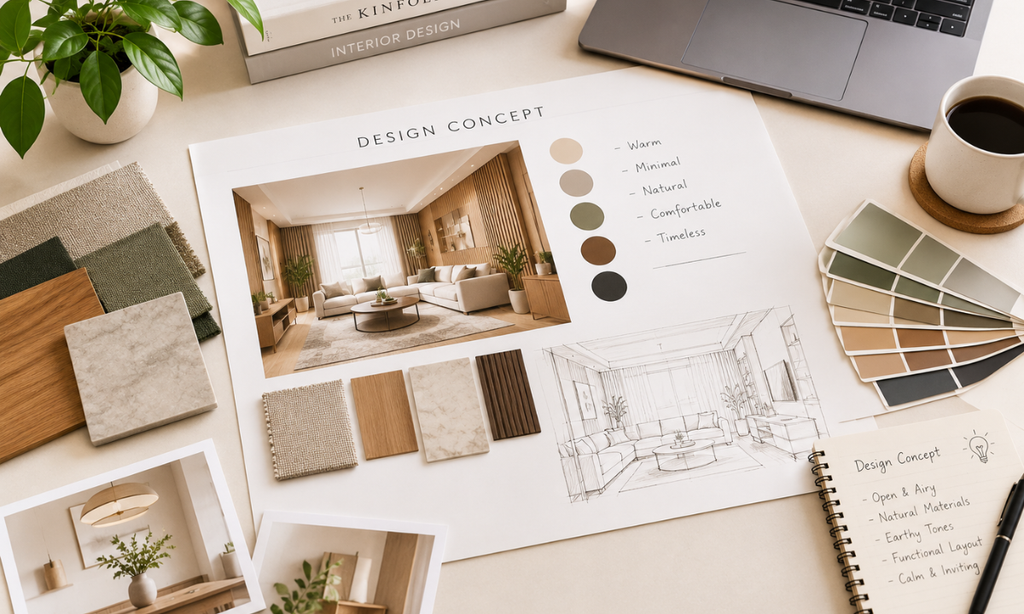
After the layout is established, the designer develops the visual direction.
This can include:
- Colour palette
- Materials
- Textures
- Furniture style
- Cabinet finishes
- Flooring
- Wall treatments
- Ceiling design
- Lighting
The design should reflect the homeowner’s preferences while remaining appropriate for the space.
Some homeowners may prefer minimalist interiors, while others may prefer contemporary, traditional, luxury or modern Indian styles.
Stage 6: 3D Visualisation and Design Presentation
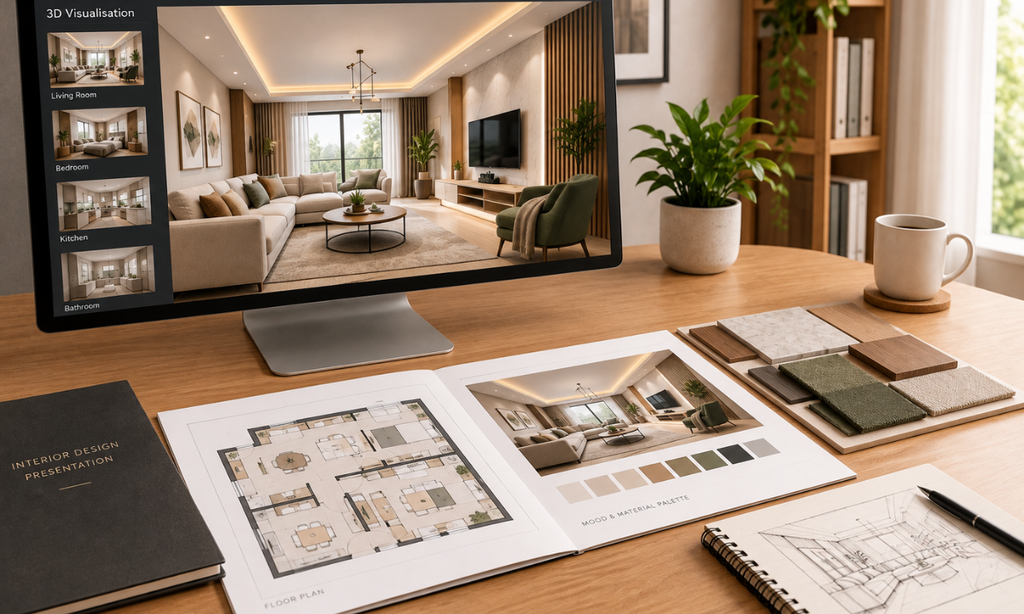
Depending on the designer or studio, 3D visualisations may be created to show how the proposed interior could look.
These visualisations can help homeowners understand:
- Furniture placement
- Colours
- Cabinet finishes
- Lighting
- Ceiling design
- Wall treatments
- Overall proportions
A 3D view can be useful because it allows design decisions to be discussed before execution.
However, a 3D image is a design representation, not necessarily an exact guarantee of the final appearance. Material samples and technical drawings remain important.
Stage 7: Material and Finish Selection

Once the overall design direction is approved, materials and finishes need to be selected.
These may include:
- Laminates
- Veneers
- Paint
- Tiles
- Flooring
- Countertops
- Glass
- Hardware
- Fabrics
- Wood finishes
Material selection should consider more than appearance.
Important factors include:
- Durability
- Maintenance
- Usage
- Moisture exposure
- Cleaning
- Availability
- Budget
For information about applicable Indian standards, homeowners can refer to the Bureau of Indian Standards.
Stage 8: Kitchen Design and Planning
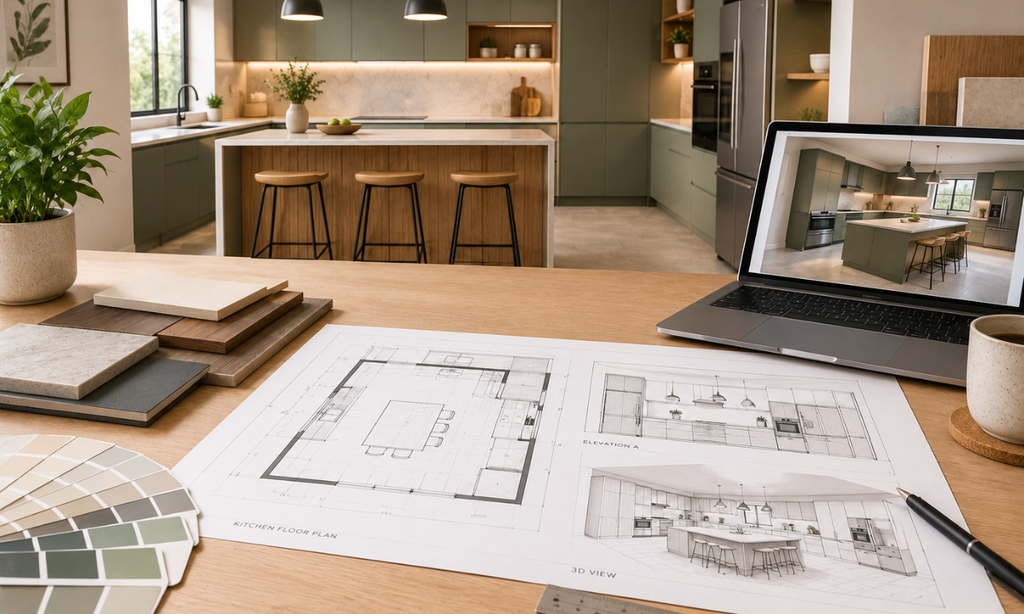
The kitchen requires detailed planning because it combines storage, appliances, plumbing, electrical requirements and daily activities.
The designer may finalise:
- Kitchen layout
- Base cabinets
- Wall cabinets
- Tall units
- Drawers
- Corner storage
- Sink
- Hob
- Chimney
- Refrigerator
- Appliances
- Countertop
- Backsplash
- Lighting
If a modular kitchen is part of your project, explore modular kitchen design to understand how the layout and storage can be structured.
Stage 9: Detailed Drawings
Once the design is approved, technical drawings can be prepared.
Depending on the project, these may include:
- Furniture layouts
- Kitchen drawings
- Wardrobe elevations
- Ceiling plans
- Electrical layouts
- Lighting plans
- Wall elevations
- Material specifications
These drawings help the execution team understand exactly what needs to be built.
This stage is particularly important for customised furniture because small dimensional differences can affect the final installation.
Stage 10: Cost Estimation and Final Quote
The next stage is establishing the project cost.
Depending on the scope, the quotation may include:
- Modular furniture
- Kitchen
- Wardrobes
- TV units
- False ceiling
- Lighting
- Electrical work
- Painting
- Flooring
- Civil work
- Hardware
- Installation
- Other services
Homeowners should carefully review what is included and excluded.
Do not compare quotations based only on the final number. Check the materials, finishes, hardware, scope and services included in each proposal.
Stage 11: Design Approval
Before production or major execution begins, the final design should be reviewed.
This is the stage to confirm details such as:
- Layout
- Colours
- Materials
- Cabinet finishes
- Hardware
- Lighting
- Storage
- Furniture dimensions
- Electrical requirements
Making major changes after production begins can result in additional costs or delays.
Therefore, it is useful to finalise important decisions before moving into execution.
Stage 12: Production and Procurement
Once the design is approved, materials and components can be procured or production can begin.
For modular furniture, components may be manufactured according to the approved drawings.
Other materials may be ordered for:
- Flooring
- Lighting
- Hardware
- Countertops
- Paint
- Glass
- Décor
The production timeline depends on the project scope and availability of materials.
Stage 13: Site Preparation
Before installation, the site may need to be prepared.
This can include:
- Civil modifications
- Electrical work
- Plumbing changes
- Flooring work
- Painting preparation
- Ceiling work
Coordination is important because different activities often depend on one another.
For example, electrical points need to be positioned correctly before certain furniture and wall finishes are installed.
Stage 14: Interior Installation and Execution
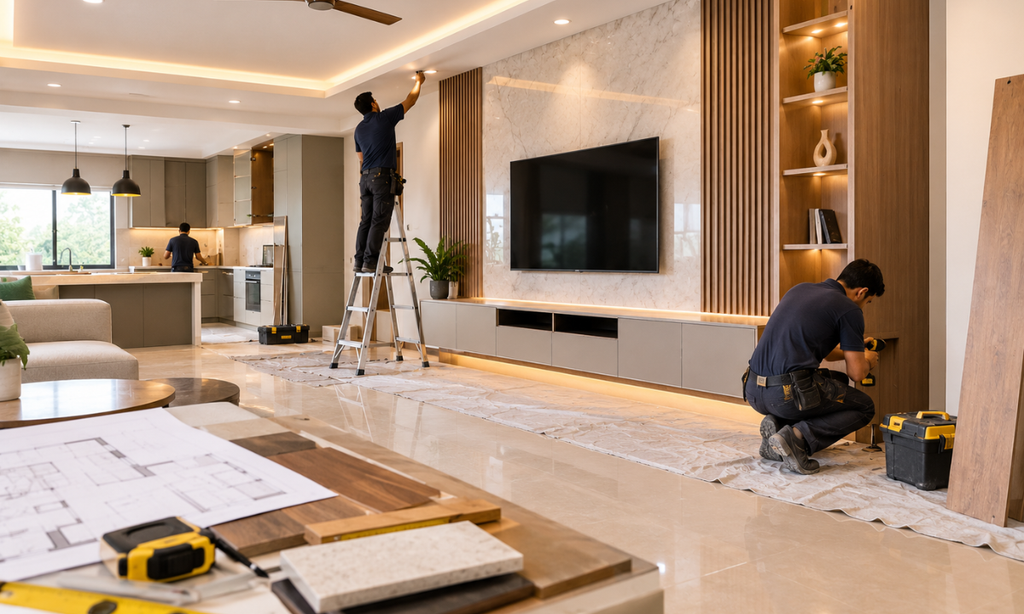
This is where the approved design begins to take physical shape.
Depending on the project, execution can involve:
- Carpentry
- Modular furniture installation
- Kitchen installation
- Wardrobe installation
- Electrical work
- Lighting installation
- Painting
- Ceiling work
- Hardware installation
- Glass work
- Other finishing activities
A project manager or site coordinator may oversee the different activities depending on the service model.
Stage 15: Quality Checks
Before the project is handed over, the completed work should be inspected.
The inspection can cover:
- Cabinet alignment
- Door and drawer operation
- Hardware
- Finishes
- Lighting
- Electrical points
- Paint quality
- Surface damage
- Installation quality
- General cleanliness
Any outstanding issues can then be identified and addressed.
Stage 16: Final Handover
The final stage is handover.
At this point, the homeowner receives the completed interior after the agreed work has been finished.
Depending on the service provider, handover may include:
- Final cleaning
- Product information
- Warranty information
- Maintenance guidance
- Documentation
- Identification of any pending minor work
A clear handover process helps the homeowner understand how to use and maintain the completed interiors.
How Long Does the Interior Design Process Take?
There is no universal timeline for an interior project.
The duration depends on:
- Size of the home
- Number of rooms
- Design complexity
- Scope of work
- Material availability
- Customisation
- Civil work
- Production time
- Site conditions
- Client approvals
A simple project may move relatively quickly, while a complete home interior with extensive customisation can take considerably longer.
Instead of relying on a generic number of days, ask your interior designer for a project-specific schedule.
What Should You Prepare Before Meeting an Interior Designer?
You can make the initial consultation more productive by preparing some basic information.
Bring or share:
- Floor plan
- Property dimensions
- Photos of the property
- Inspiration images
- Preferred colours
- Existing furniture details
- Storage requirements
- Appliance requirements
- Budget range
- Expected completion date
You do not need to have every design decision finalised.
The purpose of the initial consultation is to discuss your requirements and establish the direction of the project.
What Can Cause Delays in an Interior Project?
Understanding potential delays can help homeowners plan realistically.
Common causes include:
Changes after approval
Frequent changes to an approved design can affect production and installation schedules.
Material availability
Certain finishes, hardware or customised materials may require additional time.
Civil work
Unexpected site conditions can increase the execution timeline.
Late decisions
Delays in selecting colours, finishes or fixtures can affect dependent work.
Coordination issues
Interior projects often involve multiple teams, so poor coordination can cause delays.
Clear communication and timely approvals can reduce these problems.
Common Mistakes During the Interior Design Process
Starting Without a Clear Budget
Without a budget, it is difficult to make realistic decisions about materials and scope.
Focusing Only on Appearance
A beautiful interior still needs adequate storage, lighting and functionality.
Changing the Design Too Late
Late changes can affect production, cost and timelines.
Not Checking the Scope
Always understand what is included in the quotation.
Ignoring Maintenance
Materials should be selected according to how much maintenance you are willing to handle.
Choosing Furniture Without Considering Space
Oversized furniture can make a room feel crowded even when the design itself is attractive.
Why a Structured Interior Design Process Matters
A structured process helps connect all the different parts of an interior project.
Space planning influences furniture.
Furniture affects electrical points.
The kitchen layout affects plumbing and appliances.
Lighting affects ceiling design.
Materials affect budget and maintenance.
When these decisions are made independently, conflicts can appear during execution.
A structured interior design process allows these elements to be considered together.
The Neo Studio’s Approach to Interior Design
At The Neo Studio, the interior design process is built around understanding the homeowner’s requirements and translating them into a practical design.
The process can include consultation, planning, design development, material selection, detailed design and execution coordination, depending on the project scope.
The objective is to create interiors that balance:
- Functionality
- Aesthetics
- Storage
- Comfort
- Materials
- Budget
- Long-term usability
For homeowners planning a complete home interior, you can explore The Neo Studio’s interior design solutions to understand the services available.
If you are specifically planning a living room, you can also explore living room interiors as part of your overall home design.
Final Thoughts
The interior design process is not a single step. It is a series of connected decisions that take a project from an initial idea to a completed home.
The process typically starts with understanding your requirements and measuring the space. It then moves through space planning, concept development, material selection, detailed drawings, budgeting, production and execution before reaching final handover.
The exact process can differ between interior designers and projects, so homeowners should always clarify the scope, timeline, materials, payment terms and execution responsibilities before starting.
A well-planned process can make the interior project easier to manage and can reduce avoidable design changes, coordination problems and misunderstandings.
Whether you are designing a single room or an entire home, understanding each stage of the interior design process can help you make informed decisions, set realistic expectations and work more effectively with your designer and execution team. From the first consultation to the final handover, clear communication and proper planning at every stage can help ensure that the finished space reflects your needs, lifestyle and design preferences while staying within the agreed budget and timeline.